Six months ago I moved to Williamstown Beach just outside of Melbourne. It’s a nice beachside town about 15km from the centre of the city. The beach is a couple of blocks away via a walk through the botanic gardens – a pretty ideal place to replenish after long days in front of computers (my day jobs include being a software developer for ACMI and New Internationalist).
The beach here has a really diverse crowd – many countries of Africa are represented, as well as a large portion of southern Europe and Asia. It’s a really popular place for both families with young kids and pets, as well as groups of teenage and 20-something friends.
But there is one blot on this otherwise idyllic bay, and that’s a big waste water drain that exits right next to the swimming beach. A waste water drain wouldn’t be so much of a big deal on its own, but Williamstown’s proximity to a large shipping port, industrial area, and oil refinery made me curious to see whether the output of it is at all tainted.
That curiosity peaked after a recent factory fire and subsequent rains forced the local council to put up signs warning that the water was unfit to swim in or even for pets to play in.
EPA Victoria has a twitter account that tweets water quality for beaches, but it doesn’t seem to have an entry for Williamstown and some of the alerts are based on historical data.
So I decided to start building my own monitoring system, to see what the cost would be to setup alerts of my own.
My first stop was the Public Lab Water Quality Sensor project. Being five years old there are a lot of broken links, but there was one that was useful – the link to Atlas Scientific sensors.
I also read up about the different water quality parameters you can measure:
- Temperature
- pH
- Salinity (Electrical Conductivity)
- Turbidity
- Suspended solids
- Dissolved oxygen
- Heavy metals
- Nutrients
Given the cost of Atlas sensors (~AUD$415 each delivered), I figured for my first tests I might choose one and see how it goes. Then buy more if that one ends up being useful.
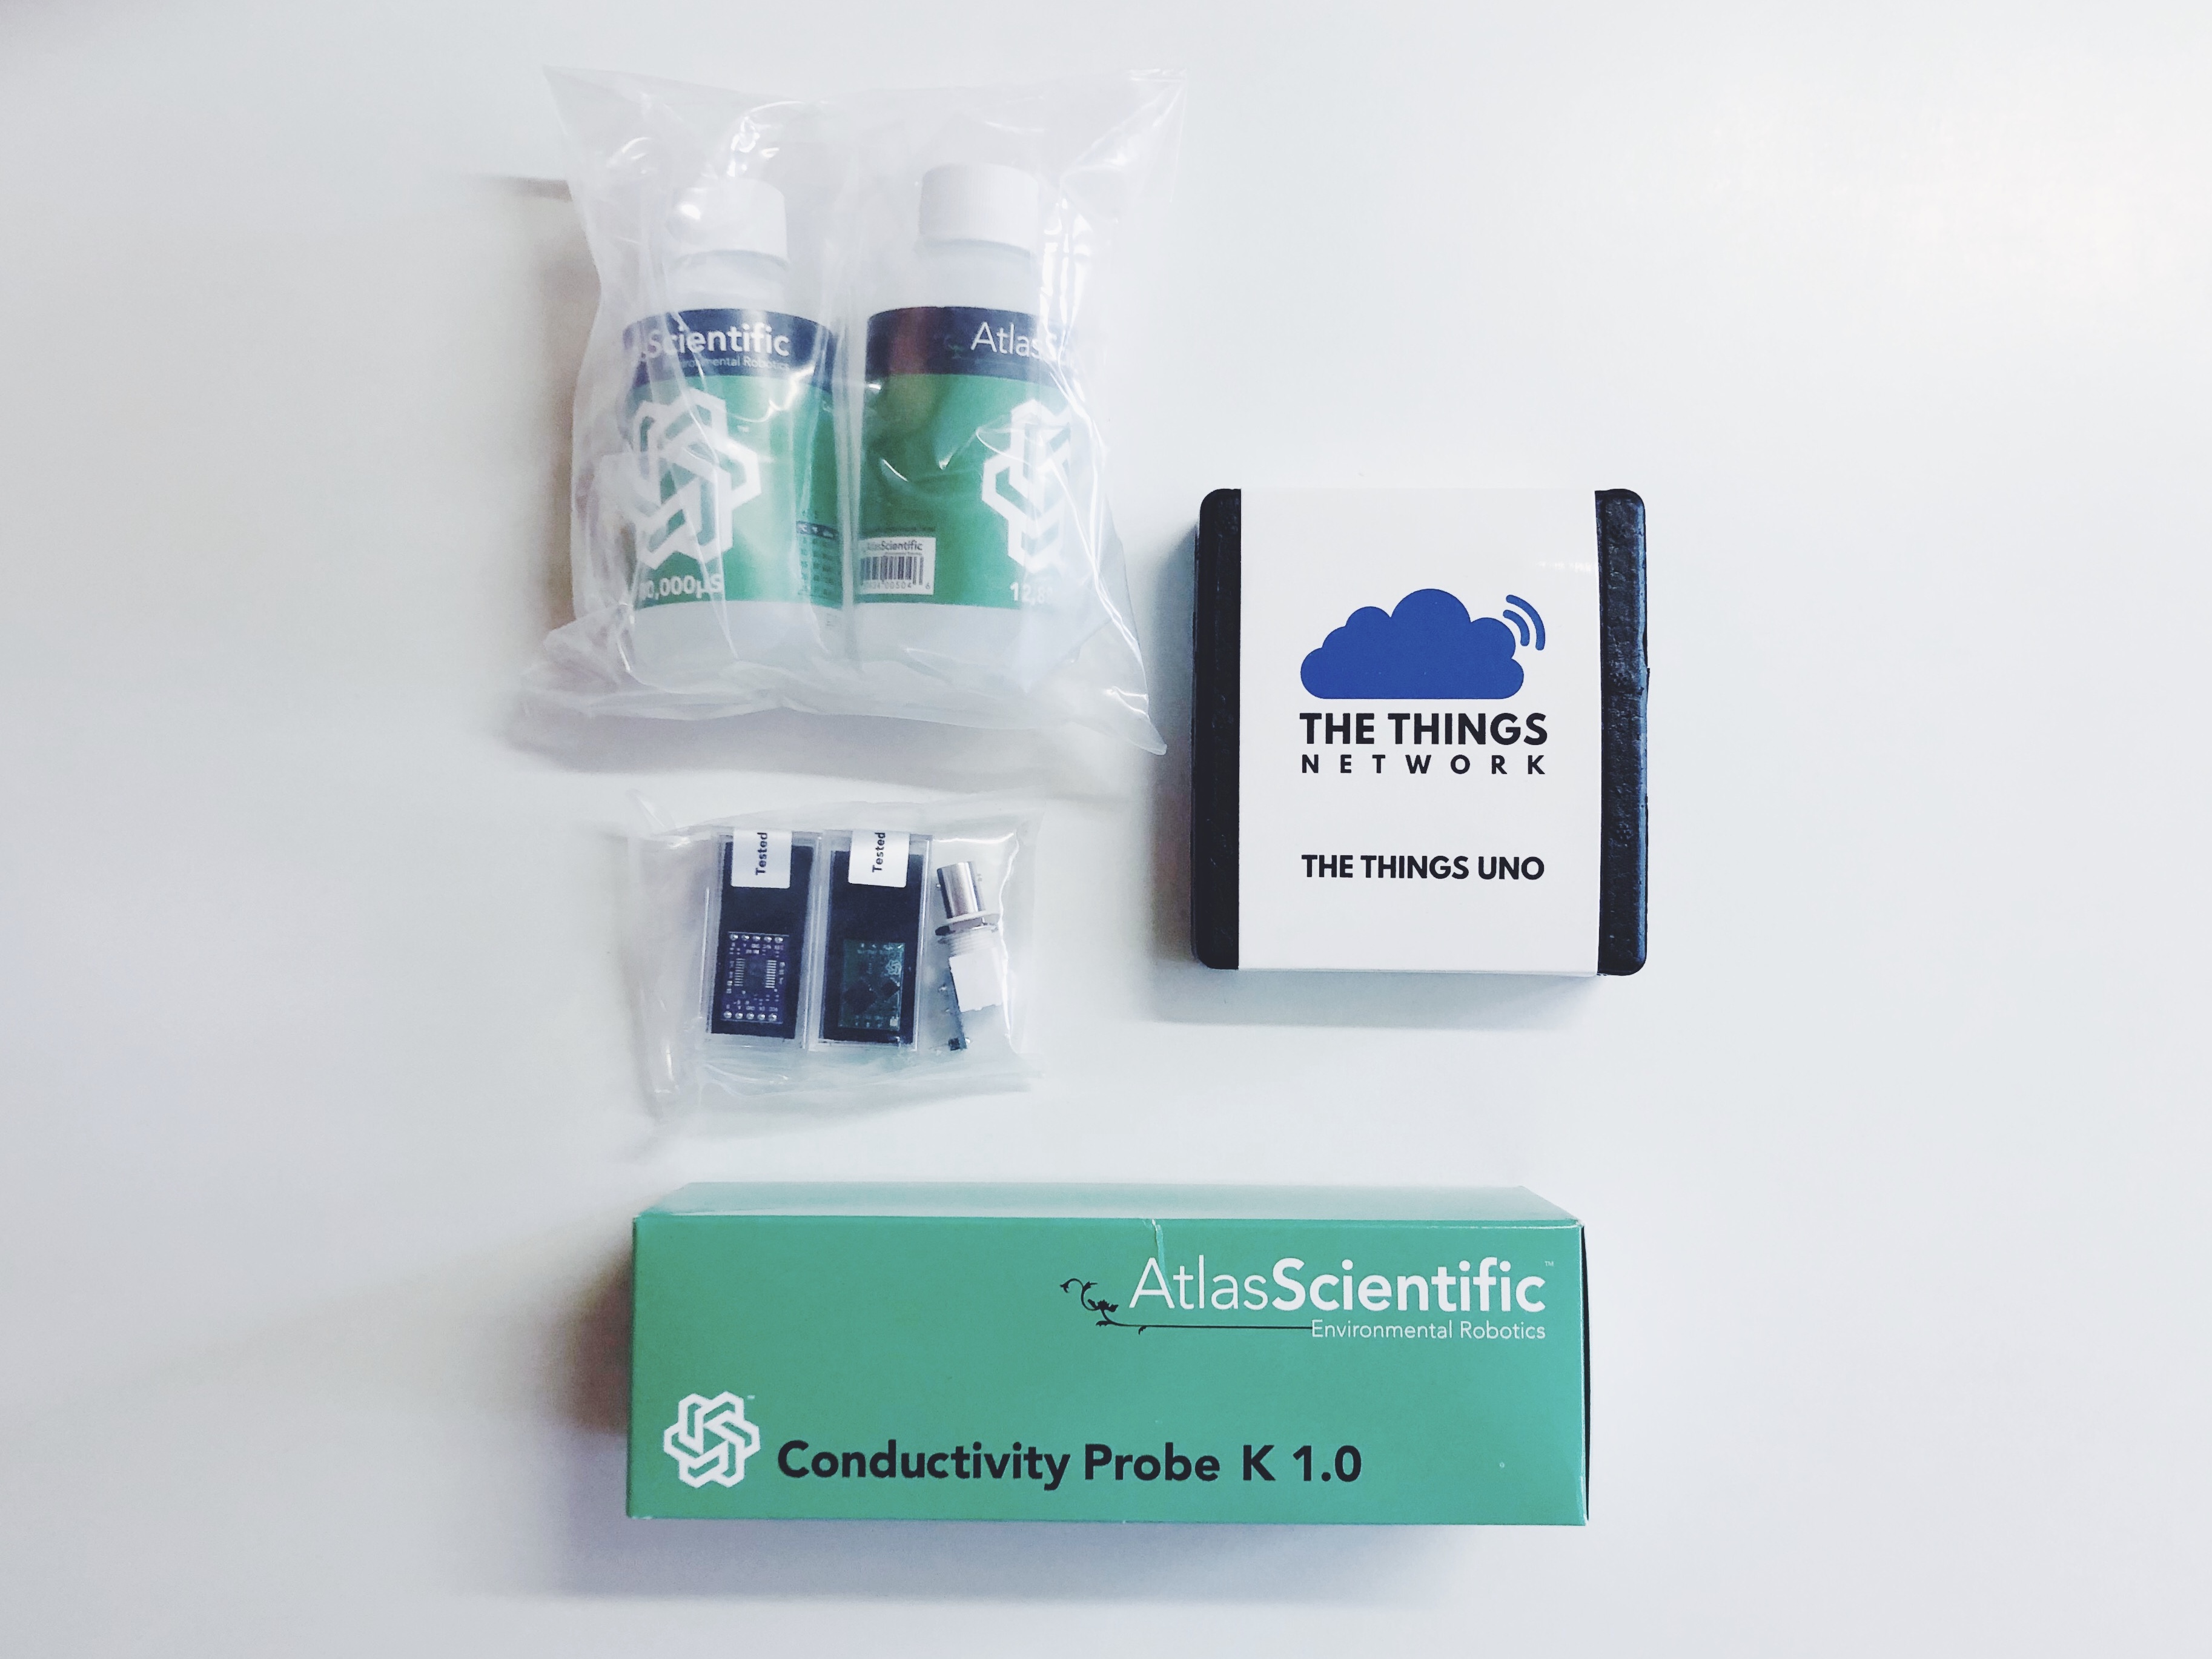
So with that in mind, I decided on the Conductivity K 1.0 kit.

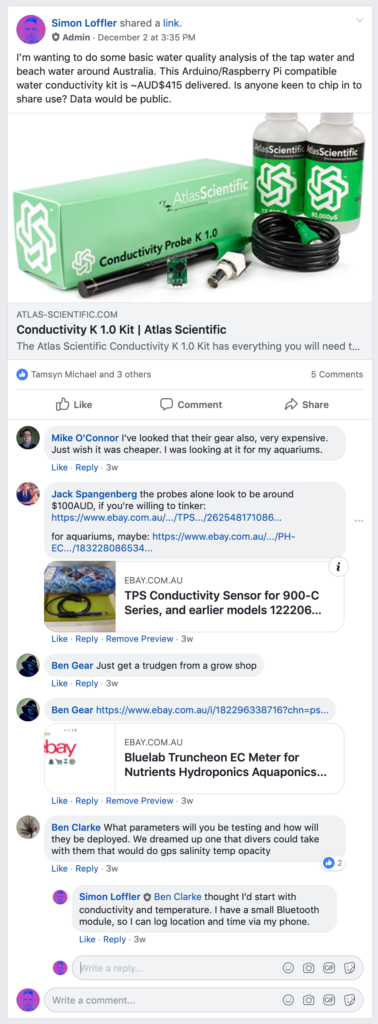
$400 is about double my comfortable limit for hobby projects, so I put the feelers out on the Hackerspace Adelaide list & Twitter to see if anyone wanted to share the cost and the sensors.
Almost instantly, Jeannine very kindly put me onto Leo and The Things Network, who not only got TTN to donate me a The Things Uno with LoRaWAN (Low power, wide area network with ~15km range), but also agreed to sponsor me $100 towards the costs of the sensors (THANK YOU!).
Big shout out to Tisham Dhar of Whatnick fame too, who also offered to help out (Tisham makes open hardware energy monitors that are awesome).
The Hackerspace Adelaide community also came through with some low cost solutions:

- TPS k 1.0 sensor (~AUD$100 on eBay)
- Bluelab Truncheon Nutrient Meter (~AUD$120 on eBay)
The TPS would probably work nicely (The Bluelab is seemingly a standalone reader).
But seeing I wanted to open this up as public data, and have the possibility of an easily replicated solution, I decided to go with off-the-shelf products that have great documentation, Arduino sample code, wiring diagram and calibration samples (seriously, how nice is their documentation!!!).

Atlas Scientific and Leo from The Things Network were super prompt with their deliveries, they were each really nicely packaged and arrived within a week – a nice start to any project.
Next steps:
- Connect to The Things Network.
- Connect the sensor and get usable data.
- Calibrate the sensor.
