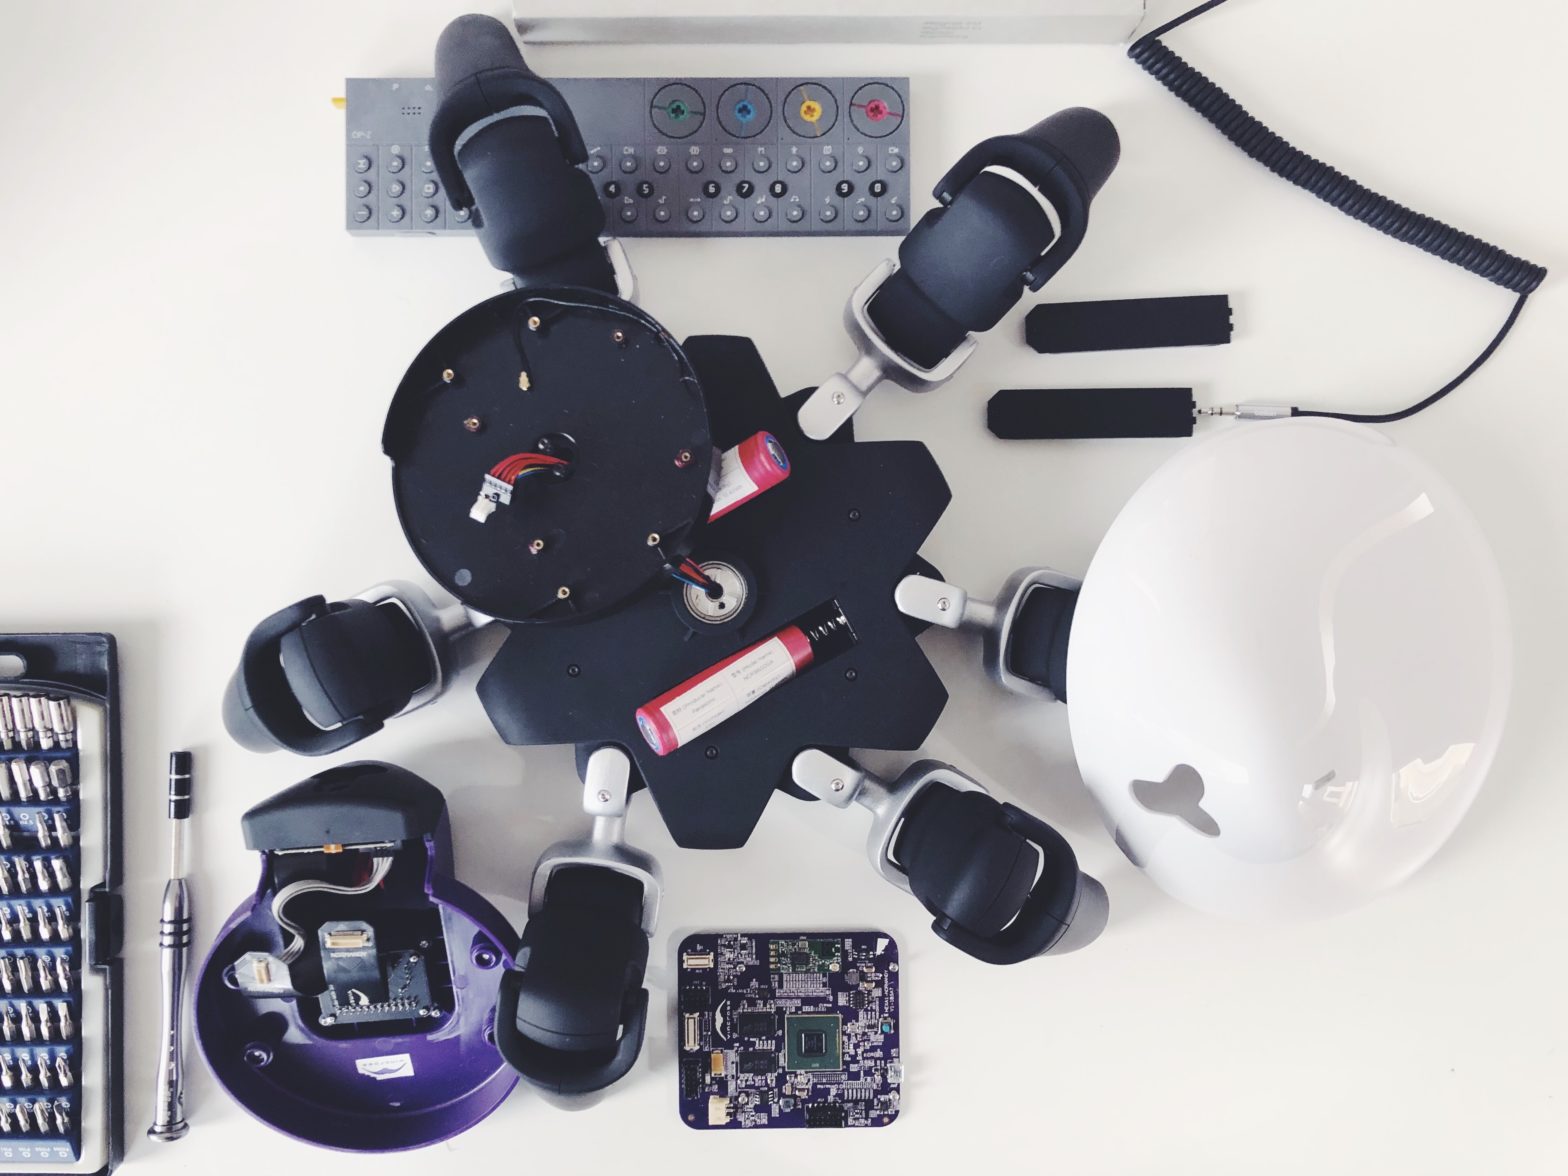
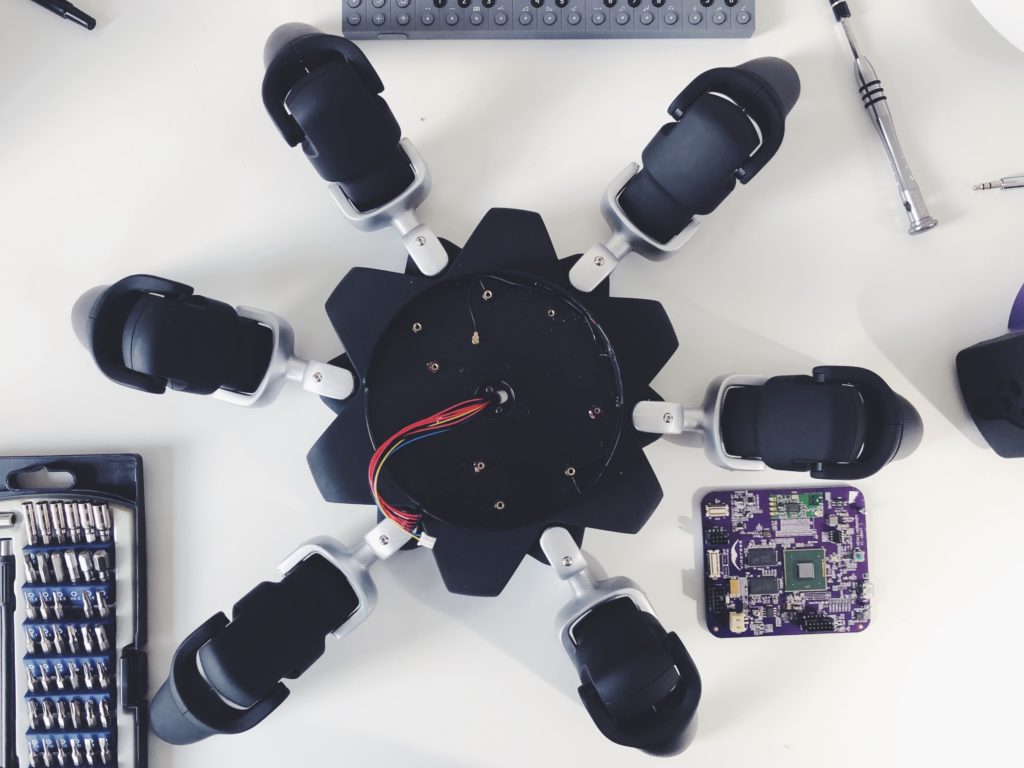
During my time at MOD. I purchased a Vincross HEXA as part of our robotics education program. It’s a beautiful six legged robot that can be controlled via a mobile phone app, or their MIND SDK.
Fast forward to a couple years down the track, and I’m now working for ACMI on their renewal project, but still miss my old colleagues, museum and robots dearly.
When I heard that HEXA wasn’t charging anymore I jumped at the chance to debug them, and see if I could bring them back to life.
I suspect that the batteries and/or charging circuit might be dead. We had it replaced under warranty once while I was at MOD., so it’s a likely repeat offender.
Tools
My goto tool kit for computer/phone/robot repairs is my ifixit toolkit. The tools needed for this repair so far are:
- H1.5 hex bit (of course it’s a hex bit)
- PH0 phillips head bit
- PH2 phillips head bit
Disassembly
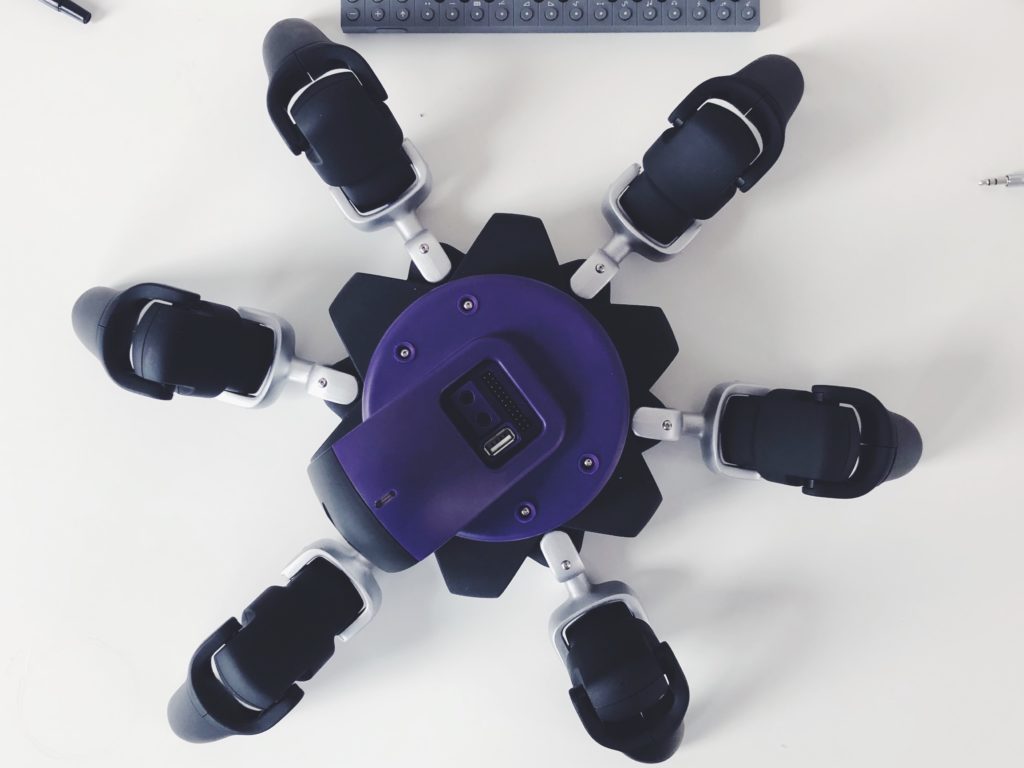
I have to hand it to Vincross, they did a great job of designing HEXA for disassembly – almost making it too easy to access the batteries.
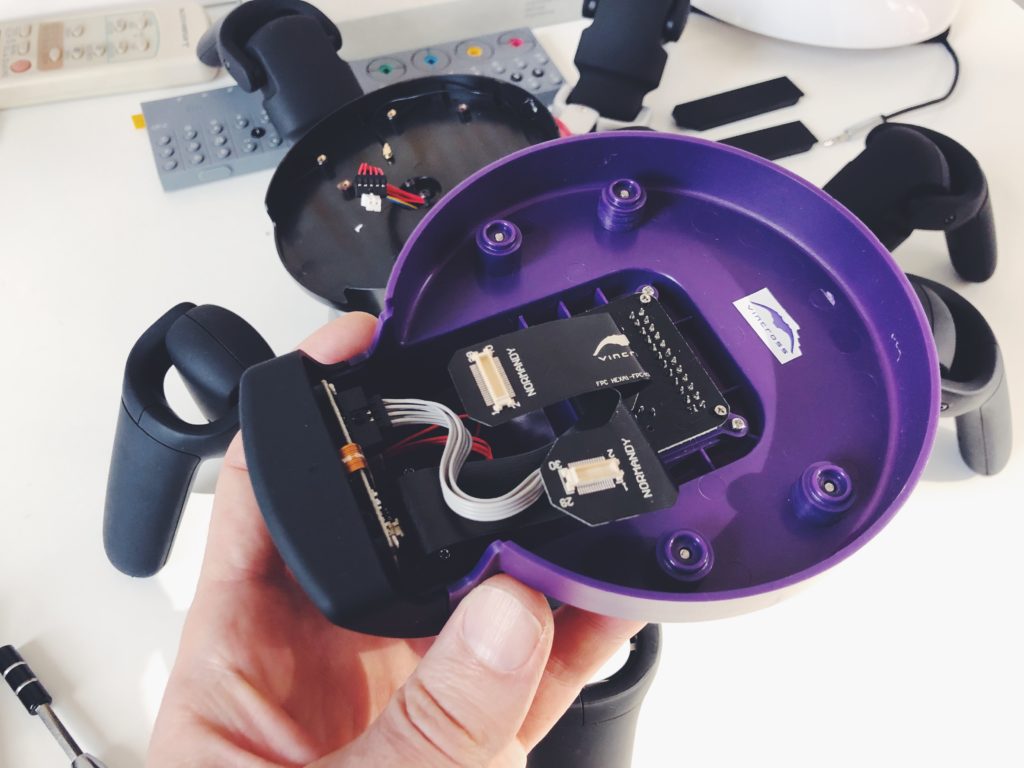
After removing HEXA’s white head case, undo the 4x H1.5 screws on the purple head plate.
Warning: Be careful when lifting it off not to pull on the flex cables that connect the cameras and headers to the motherboard.
From the front of HEXA, gently open it up and pull up the two black flex cable connectors. Then gently pull up the other 8-pin black connector (J513).
Now that you have access to the motherboard, gently pull the two connectors off, and unscrew the 4x PH0 screws holding the motherboard down.
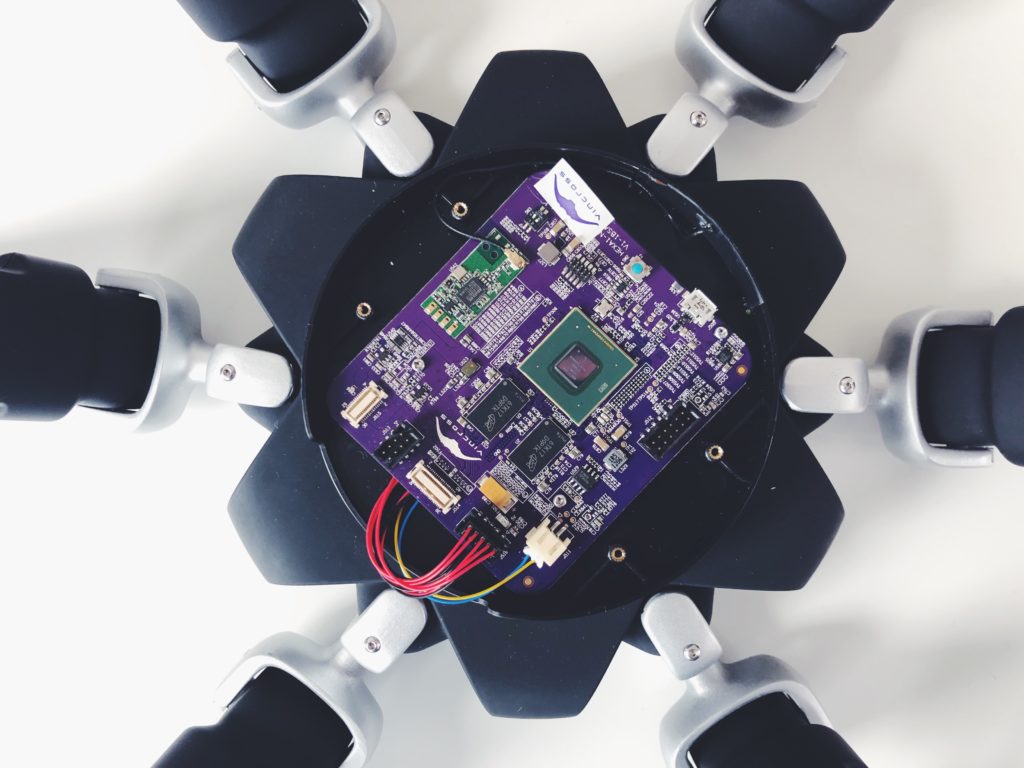
Next you can unscrew the 2x H1.5 centre black screws holding HEXA’s black bottom motherboard assembly plate.
This will show two long slots held in place by 2x PH2 phillips heads screws. Undoing these and using a sharp tool to prise them open will reveal the batteries. Success.
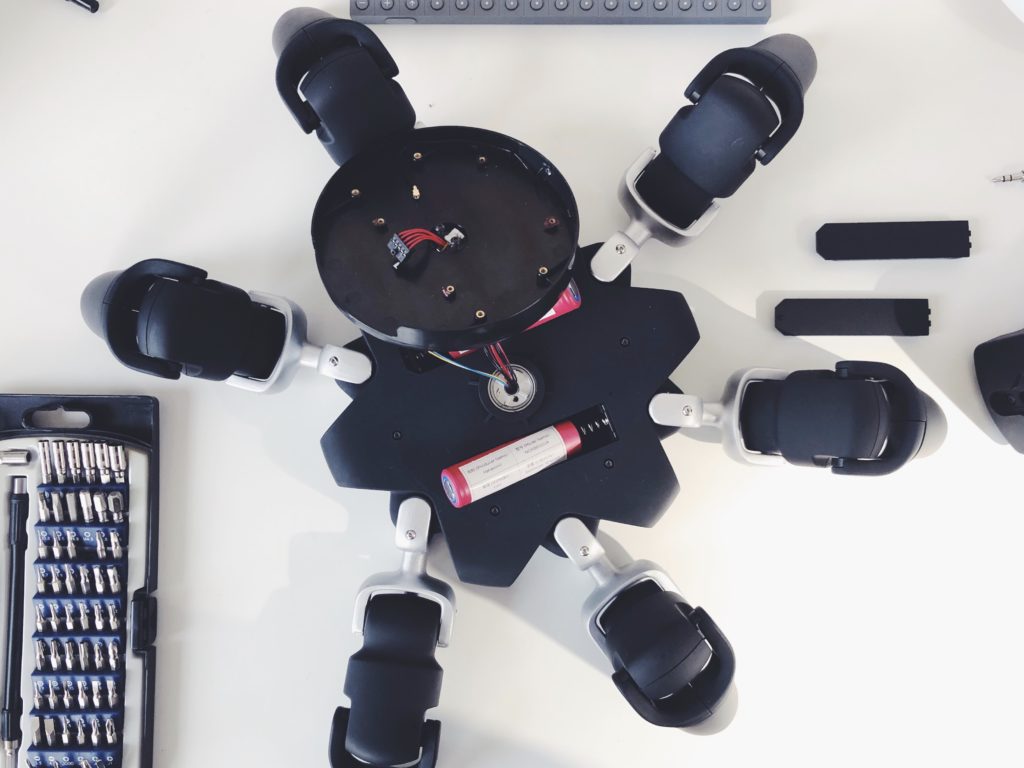
The two batteries powering HEXA are:
- Panasonic NCR18650GA 3.6V 3450mAh 12.42Wh
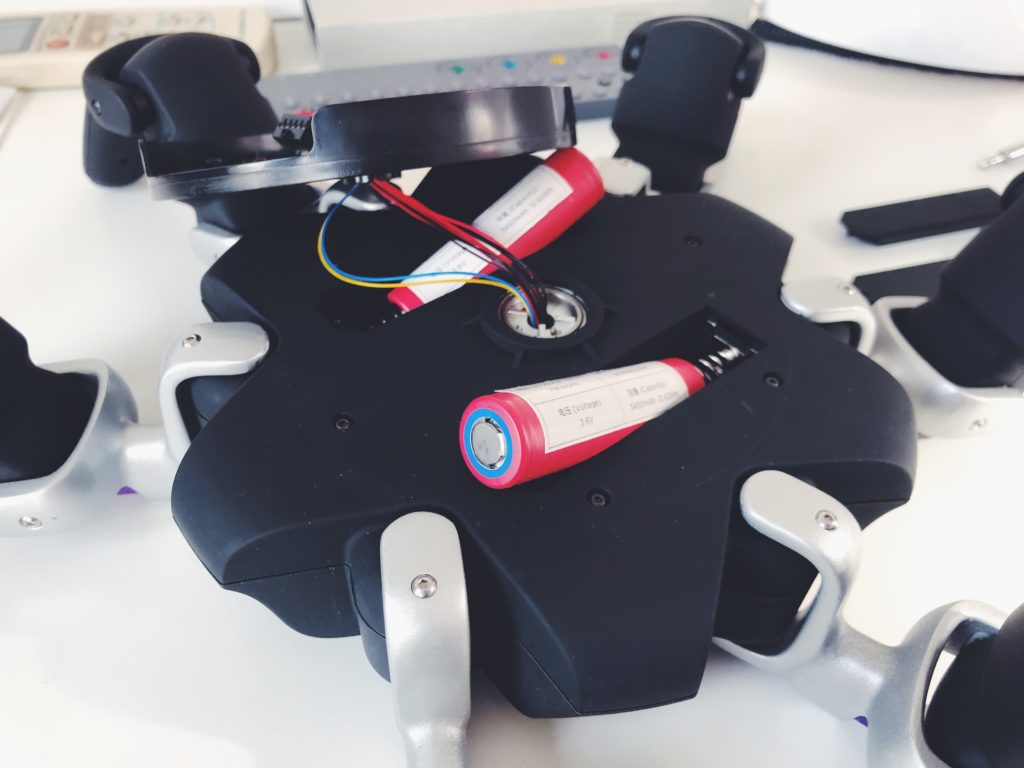
Next step: test the batteries.
The batteries were both reading 0.0v – so they’re most probably dead. Next step is to buy some replacements to see if the rest of HEXA is still okay, and if the charging circuitry is still alive.
While I wait for new batteries to arrive I’ll see if I can revive the old ones with my charger.
Update
Unfortunately neither the revived old batteries, or the new batteries that I purchased powered up HEXA. So I’ve asked for help debugging the various circuit boards on the Vincross forum.
Update #2
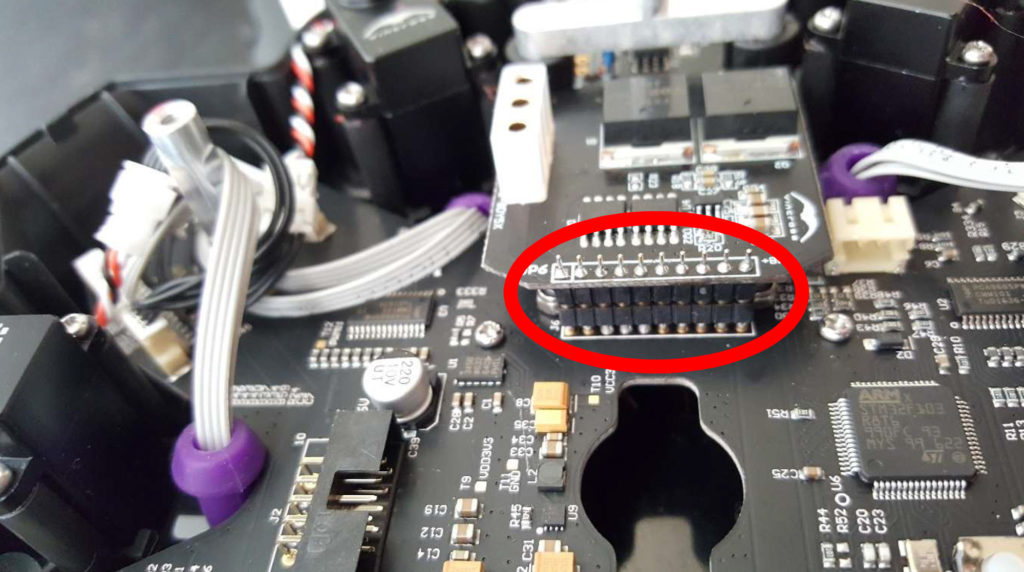
8th August, 2020: I got a response from Vincross, and they’ve sent me a PDF with instructions for disassembling the servo & charge compartment, pointing to some pins on the charging board that they suspect may have desoldered themselves with the heat of HEXA being left on the wireless charger for a long time.
Here’s an image of the pins they suspect:
And the PDF if you want to read the full instructions:
Hi,
I also own a HEXA with power issues. Mine are intermittent.
Did you ever get your HEXA to work after replacing the batteries and/or performing the soldering fix?
Thanks!
Bill
Hi Bill, sorry for the delay – your comment never made it to my email.
Unfortunately I still haven’t brought mine back to life, but I intend to give it another try in the coming months to see if I can do some deeper debugging. I’ll keep you posted. How’s yours going?
Hi Sighmon,
Same here, I did not get an email alert to your reply.
Fortunately, I was able to get my HEXA to work but only sporadically for 2 to 10 minutes at a time. I do have some ideas to share and things to try but will only do so when I see that you have received this.
Best Regards,
Bill
Hi,
I was able to bring my HEXA back to life with some “surgery”!
Are you still having power issues?
Best Regards,
Bill
That’s great news – what did your surgery involve? I still haven’t prioritised pulling it apart again. It’s very annoying that the battery connections are at the bottom of HEXA.
Hi Guys, thanks for this great article.
We followed it, and at first tried new batteries which had no effect in bringing our hexa back to life.
We followed the next article and stripped the body down, we don’t have the wireless charger, so we don’t think that ours has melted solder connections.
We think that we might have used an incorrect charger that was 12v instead of 9v, would that have damaged the charging circuit?
Any tips what to look for?
Thanks
Nigel